- Getting Started
- Code Review
- Platforms
- Configuration
- CI integrations
- Design Tools
- Developer Tools
- Web Projects
- Get Notified
- API
- Self-host
Platforms
- Getting Started
- Code Review
- Platforms
- Configuration
- CI integrations
- Design Tools
- Developer Tools
- Web Projects
- Get Notified
- API
- Self-host
Platforms
Screenshot testing Android Apps
This guide will walk you through every step of integrating Screenshotbot into your Android projects. We provide a Gradle plugin that offers a simple solution for storing and tracking screenshots within your Android app development workflow.
Our Gradle plugin works with the following Screenshot testing libraries:
- Compose Preview Screenshot Tests by Google
- Paparazzi by Cash App
- Roborazzi by Takahiro Menju
- Shot by Pedro Gomez
- screenshot-tests-for-android by Facebook
- Dropshots by Dropbox
Screenshotbot is agnostic about how you generated your screenshots. As long as you can provide us a directory of screenshots during your Continuous Integration (CI) job, you can integrate with us. This means if you're not using one of the above libraries, or you use some custom internal library, you can still integrate with Screenshotbot.
By using Screenshotbot, you will no longer need to use Git LFS for storage, and can easily scale to tens of thousands of screenshots.
Integrating with the Screenshotbot Gradle plugin
The Screenshotbot Gradle plugin automatically detects your screenshot testing library (Paparazzi, screenshot-tests-for-android, Shot) and configures itself accordingly. Here's how to integrate:
-
Add the plugin:
Add this line to your root module's build.gradle // in sub-module file.plugins { id("io.screenshotbot.plugin") version "1.22" }plugins { id 'io.screenshotbot.plugin' version '1.22' } -
Apply the plugin (in sub-modules)
Add this line to the build.gradle file of each sub-module containing screenshot tests. At this point you could test run your screenshot tests locally if you like.apply(plugin = "io.screenshotbot.plugin")apply plugin: 'io.screenshotbot.plugin' -
Run your screenshot tests on CI
You must call the right task on CI depending on the screenshot testing library you're using. You might have to tweak the below targets based on the flavor of the build.- For Compose Preview Screenshot Tests:
./gradlew recordAndVerifyDebugScreenshotTest - For Papparazzi:
./gradlew recordAndVerifyPaparazziDebugScreenshotbotCI - For Roborazzi:
./gradlew recordRoborazziDebugScreenshotbotCI - For Shot:
./gradlew recordAndVerifyDebugAndroidScreenshotbotCI - For screenshot-tests-for-android:
./gradlew recordAndVerifyDebugAndroidScreenshotbotCI - For Dropshots:
./gradlew connectedDebugAndroidTestScreenshotbot -Precord=true
- For Compose Preview Screenshot Tests:
-
Create an API key on Screenshotbot
Once you set up your account, you can create an API Key from here. Copy the API key and secret to your CI framework (CircleCI/Jenkins/Bitrise etc.). Most CI frameworks will have a way of specifying environment variables or secrets. We need the following two environment variables:SCREENSHOTBOT_API_KEY=... SCREENSHOTBOT_API_SECRET=...
Add old screenshots to.gitignore
Screenshotbot does not require you to save any screenshots in your repository. (But it is safe if you do so.)
Your team members might still try to run the old Gradle tasks, which will generate screenshots. To avoid confusion, you might want to prevent them from commiting those screenshots into your repository. You can add those screenshots to .gitignore as follows:
- For Compose Preview Screenshot Tests
**/screenshotTest/reference - For Paparazzi:
**/test/snapshots - For Roborazzi, you can ignore this step
- For Shot
**/screenshots/debug - For screenshot-tests-for-android:
**/screenshots/API*/*.png - For Dropshots:
**/androidTest/screenshots
Local Runs
You can also use the Gradle plugin to run screenshot tests locally (i.e. not on CI).
See this page to understand how record and verify works in this flow.
For each of the libraries, we generate a record and a verify task that can be run locally.
Example Repositories
| Compose Previews | screenshotbot/compose-preview-example |
| Paparazzi | screenshotbot/paparazzi-example |
| Shot | screenshotbot/shot-example |
| screenshot-tests-for-android | screenshotbot/screenshot-tests-for-android-example |
Next Steps
At this point, you will get email notifications each time your screenshots change.
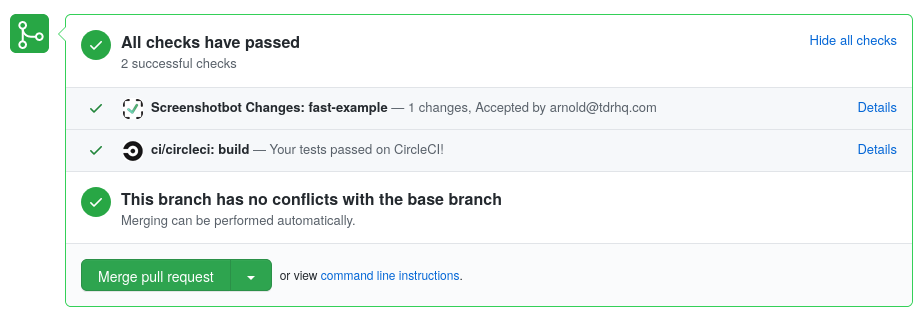
You can then integrate with your Code Review platform of you choice (for example, GitHub), to get build statuses.