- Getting Started
- Code Review
- Platforms
- Configuration
- CI integrations
- Web Projects
- Developer Tools
- Get Notified
- API
Getting Started
Masks
Masks are a powerful way to reduce noise in screenshot reports.
Introduction
Screenshot tests with animations or ones that render timestamps can be flaky. The flakiness generates noise for developers. It’s possible to solve flakiness in the test code. For instance, on Android, using screenshot-tests-for-android instead of Espresso tests can greatly reduce non-determinism. You might also be able to mock out the clock to prevent timestamps from being rendered.
However these solutions tend to be platform specific, and sometimes even project specific. Screenshotbot Masks are designed to be a general purpose solution to handling flakiness that doesn’t need code.
Understanding masked comparisons
When you set a mask on a screenshot, you’re telling Screenshotbot to not compare the pixels inside the mask. (Or, to be precise: Screenshotbot doesn’t use the pixels in the mask to generate the image signature.)
Masks are set on a screenshot by name. Once set, it will be in effect for future runs. We won’t retroactively modify previous reports. Adding a mask
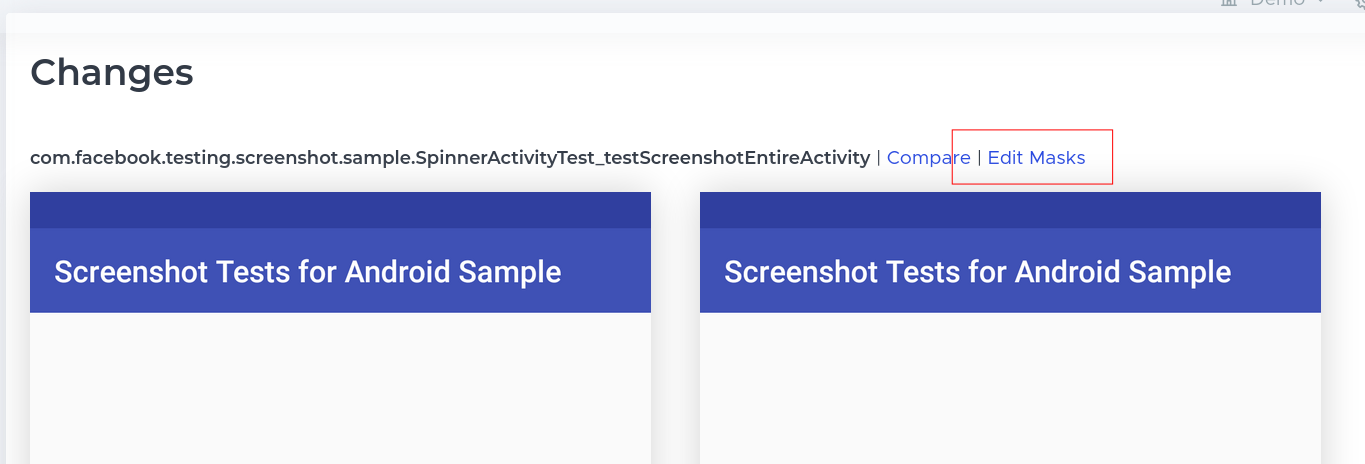
On either the run page, or on a report, you can add a mask by using the Edit Mask link.
On the mask editor you can drag and create rectangles representing the mask. The mask will be the union of all the pixels under all the rectangles created.
Once you’re done, clicking Save Mask will save the mask for future runs.