- Getting Started
- Code Review
- Platforms
- Configuration
- CI integrations
- Design Tools
- Developer Tools
- Web Projects
- Get Notified
- API
Getting Started
- Getting Started
- Code Review
- Platforms
- Configuration
- CI integrations
- Design Tools
- Developer Tools
- Web Projects
- Get Notified
- API
Getting Started
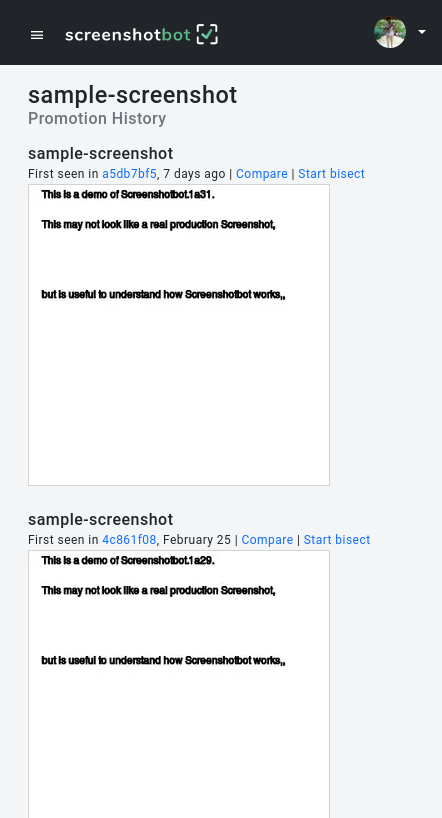
History
You can quickly look up the history for any screenshot. This tool is useful to bisect regressions that might've been missed during the review process.
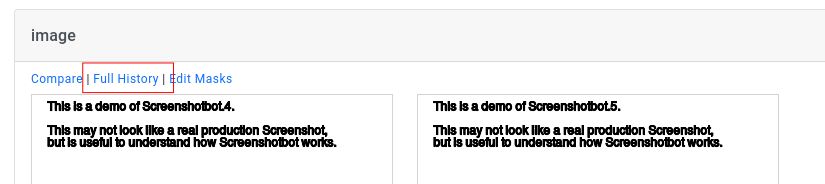
Accessing history from reports
On a report, you can access the history by clicking on the Full History link on any screenshot.
Be aware that the history link always shows the latest history for a screenshot, even if you open the link from an old report.
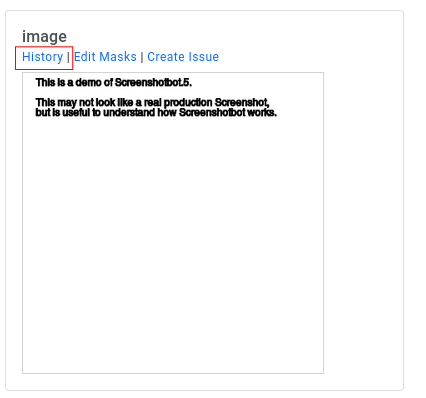
Accessing history from the run page
For a given run, you can access the history for a screenshot by searcing for the screenshot and then clicking the History link.
How we calculate history
The history of a screenshot is based on the promotion history for the given channel. Since promotions only happen on the main or master branch, this is the only branch on which history is currently available.
We start from the latest promoted run, and keep walking back in time to it's previous promoted run. We report any time the PNG file associated with the image has changed for the given screenshot name. We ignore commits where no change was made.
Handling renames
If you rename a screenshot, we suggest not making changes to the screenshot in the same commit. The history tool can track history of the screenshot across renames as long as the image remained the same.
Comparisons
On the History page, you can click the Compare link to compare a screenshot to its previous version. For more information on the Compare tool, read the documentation on Comparing Images
Bisecting changes
Sometimes regressions can be missed during reviews on Pull Requests. Or perhaps, a developer pushed a regression directly to the repository. Or rarely, multiple pull requests merged at the same time and resulted in a regression.
In these situations, you might have to look at the history to find out which commit causes the regression. If it's been a while since the regression was introduced, it might be tedious to individually go through the screenshot history.
You can use the in-built bisecting tool to speed up this process. This is very similar to git bisect.
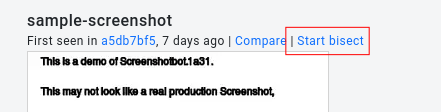
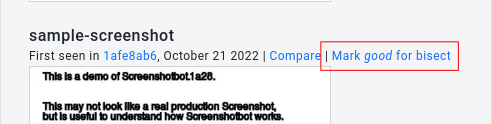
First, select the "bad" screenshot. Typically this will be the latest screenshot. Use the Start bisect action to start the bisection process:
This will take you to a page where you can select a "good" screenshot. This will be the starting point of your bisect:
Screenshotbot will now ask you a series of questions to check if an intermediate screenshot is good or bad:
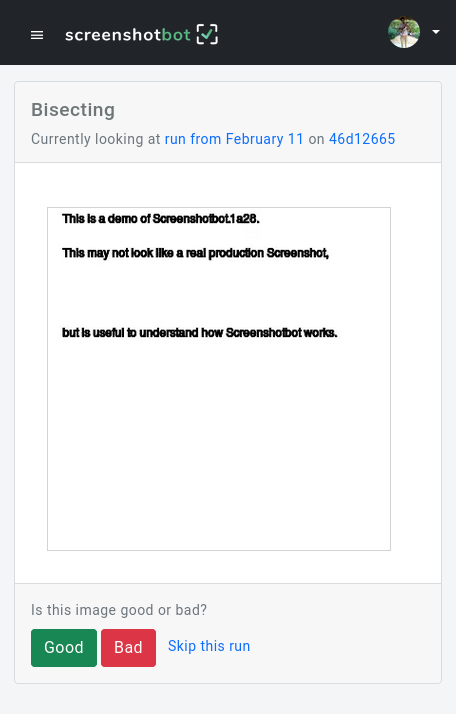
You can also choose to skip a certain screenshot. This might be useful for infrastructure failures that might have caused a certain screenshot to be bad.
After you've answered the questions, we'll finally tell you which run and commit introduced the change:
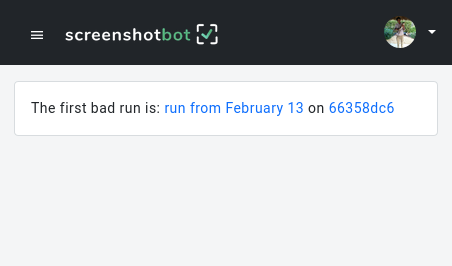
Keep in mind that Screenshotbot can only tell you the first commit that introduced the bad screenshots. In certain situations, this might not correspond to the actual blame commit (for example, if the build was broken on the blame commit). But even in those cases it's usually sufficient to look at a few ancestor commits to find the blame.